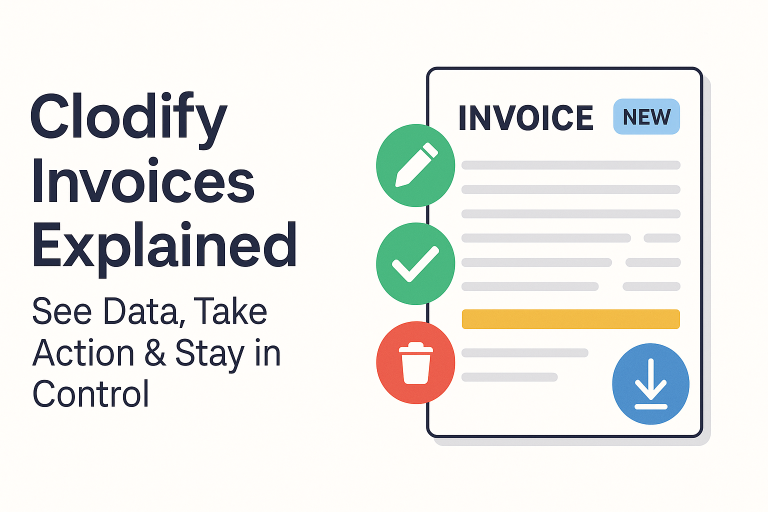

Invoices are the backbone of any financial workflow, and in Clify, the process is designed to be intuitive and efficient. In this guide, I’ll walk you through the Invoices page, show you the available actions, and explain how to manage invoice statuses properly.
🗝️Accessing the Invoices Page
To begin, log in as an admin and navigate to:
Financials → Invoices.
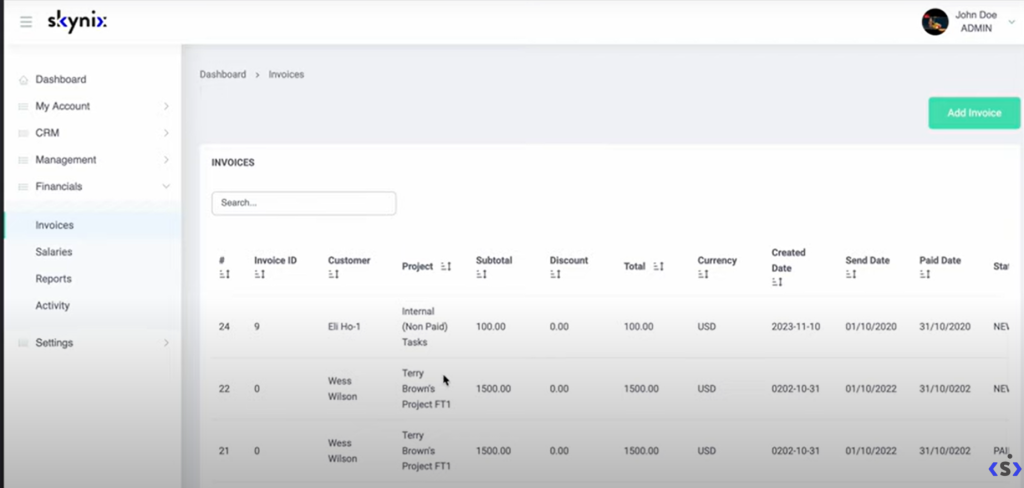
Here, you’ll see a complete list of invoices with key details and available actions.
🗝️Adding a New Invoice
Creating an invoice is straightforward:
- Click Add Invoice.
- Fill in the required fields with invoice details.
- Save the invoice.
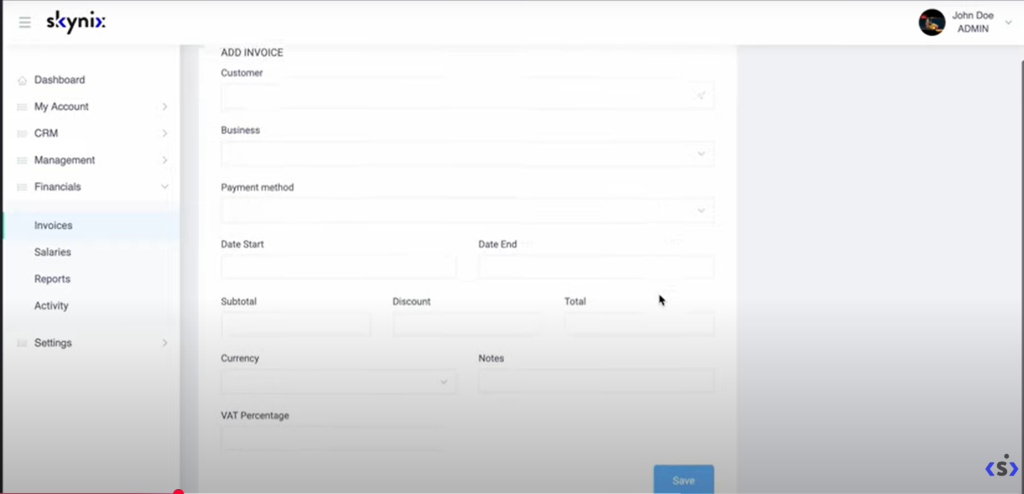
This new entry will now appear in your invoices list.
🗝️Actions for New Invoices
When an invoice is in a new state, you have the most flexibility. You can:
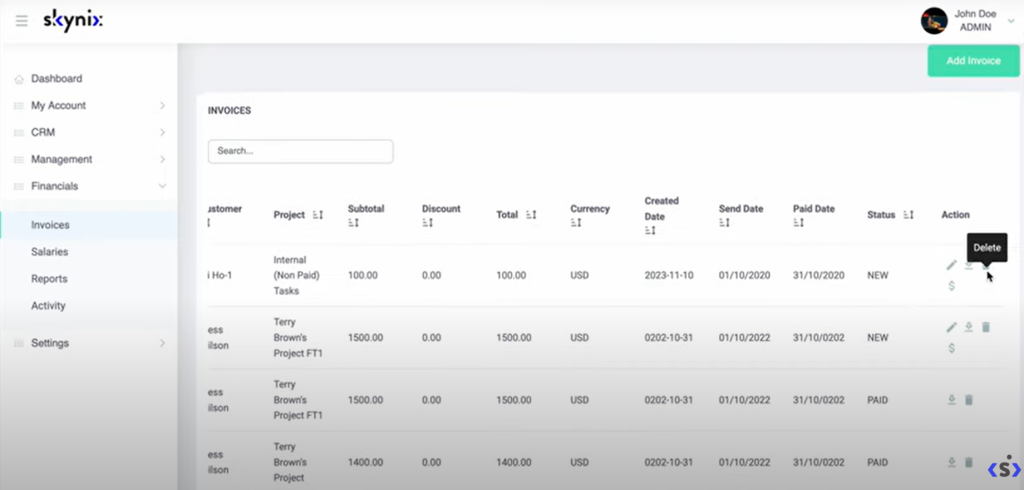
- Edit the invoice details (update notes or other data).
- Mark as Paid – simply click the status icon to confirm payment.
- Delete the invoice if it’s no longer needed.
- Download PDF for storage or sharing.
🗝️Actions for Paid Invoices
Once an invoice is marked as paid, your options narrow to:
- Delete
- Download PDF
At this stage, you can no longer edit the details, ensuring financial data remains consistent and tamper-proof.
🗝️Distributed Invoices
Invoices can also be flagged as distributed once they’ve been settled and closed. These invoices are locked and only allow the following actions:
- Delete
- Download PDF
This status helps keep your records clean while distinguishing active invoices from completed ones.
🗝️Deleting Invoices
If an invoice is unnecessary, you can remove it from the system. Once deleted, it disappears permanently from your records.
The Invoices page in Clodify provides a full set of tools to manage your financial documentation efficiently. Whether you’re adding new invoices, marking them as paid, or archiving distributed ones, the process is simple and transparent.
By keeping invoices properly updated, your business ensures smoother accounting, clear reporting, and better financial control.
Learn more here: https://clodify.com/


